
Writing
Organise your documents, write and format them, and keep track of words, comments and changes.
The keys in this guide are for Windows and Linux. On a Mac, Cmd usually takes the place of Ctrl; every shortcut, for your computer, is in Settings › Keyboard shortcuts.
The binder
The binder, on the left, holds your documents and the folders that group them: chapters, scenes, parts.
- New document and New folder, above the binder, add one inside the selected folder or just after the selected document. Its name is ready to type.
- Rename with F2, a double-click, or by clicking the title above the page.
- Drag documents and folders to reorder them or move them into another folder. From the keyboard, Alt+Up and Alt+Down move an item among its neighbours, Alt+Left takes it out of its folder and Alt+Right puts it into the folder above.
- Right-click any row, or use its three-dot button, for everything else: Move to…, Import file here, Status for a document, and, in a Book, Split document… and Join with next document.
- Status marks how far along a document is: To do, Draft, Revised or Done (None takes it off). A document with a status shows a coloured dot after its title; point at the dot to see which. Folders have none, and exports leave it out.
The Bin
Move to Bin (or the Delete key) acts at once. A line at the bottom offers Undo for half a minute.
Binned items wait in the Bin, in the rail. Each has Restore, which puts it back where it was, and Delete permanently. Empty Bin clears it. Things in the Bin are left out of exports, word counts and searches.
The editor
The toolbar above the page holds the paragraph style and buttons for most things. You can reorder and hide its buttons in Settings › Appearance › Editor toolbar.
- Paragraph styles: Chapter title, Chapter subtitle, sections and subsections, Paragraph, Quote and Verse. Ctrl+Alt+1 to 6 sets a heading level.
- Lists: bulleted (Ctrl+Shift+8) and numbered (Ctrl+Shift+7).
- Footnotes and endnotes: Ctrl+Alt+F adds a footnote, Ctrl+Alt+D an endnote. You write the note’s text in the Notes tab of the inspector. Footnotes and endnotes are numbered separately.
- Links: Ctrl+K.
- Scene breaks: the Scene break button.
Tables and formulas
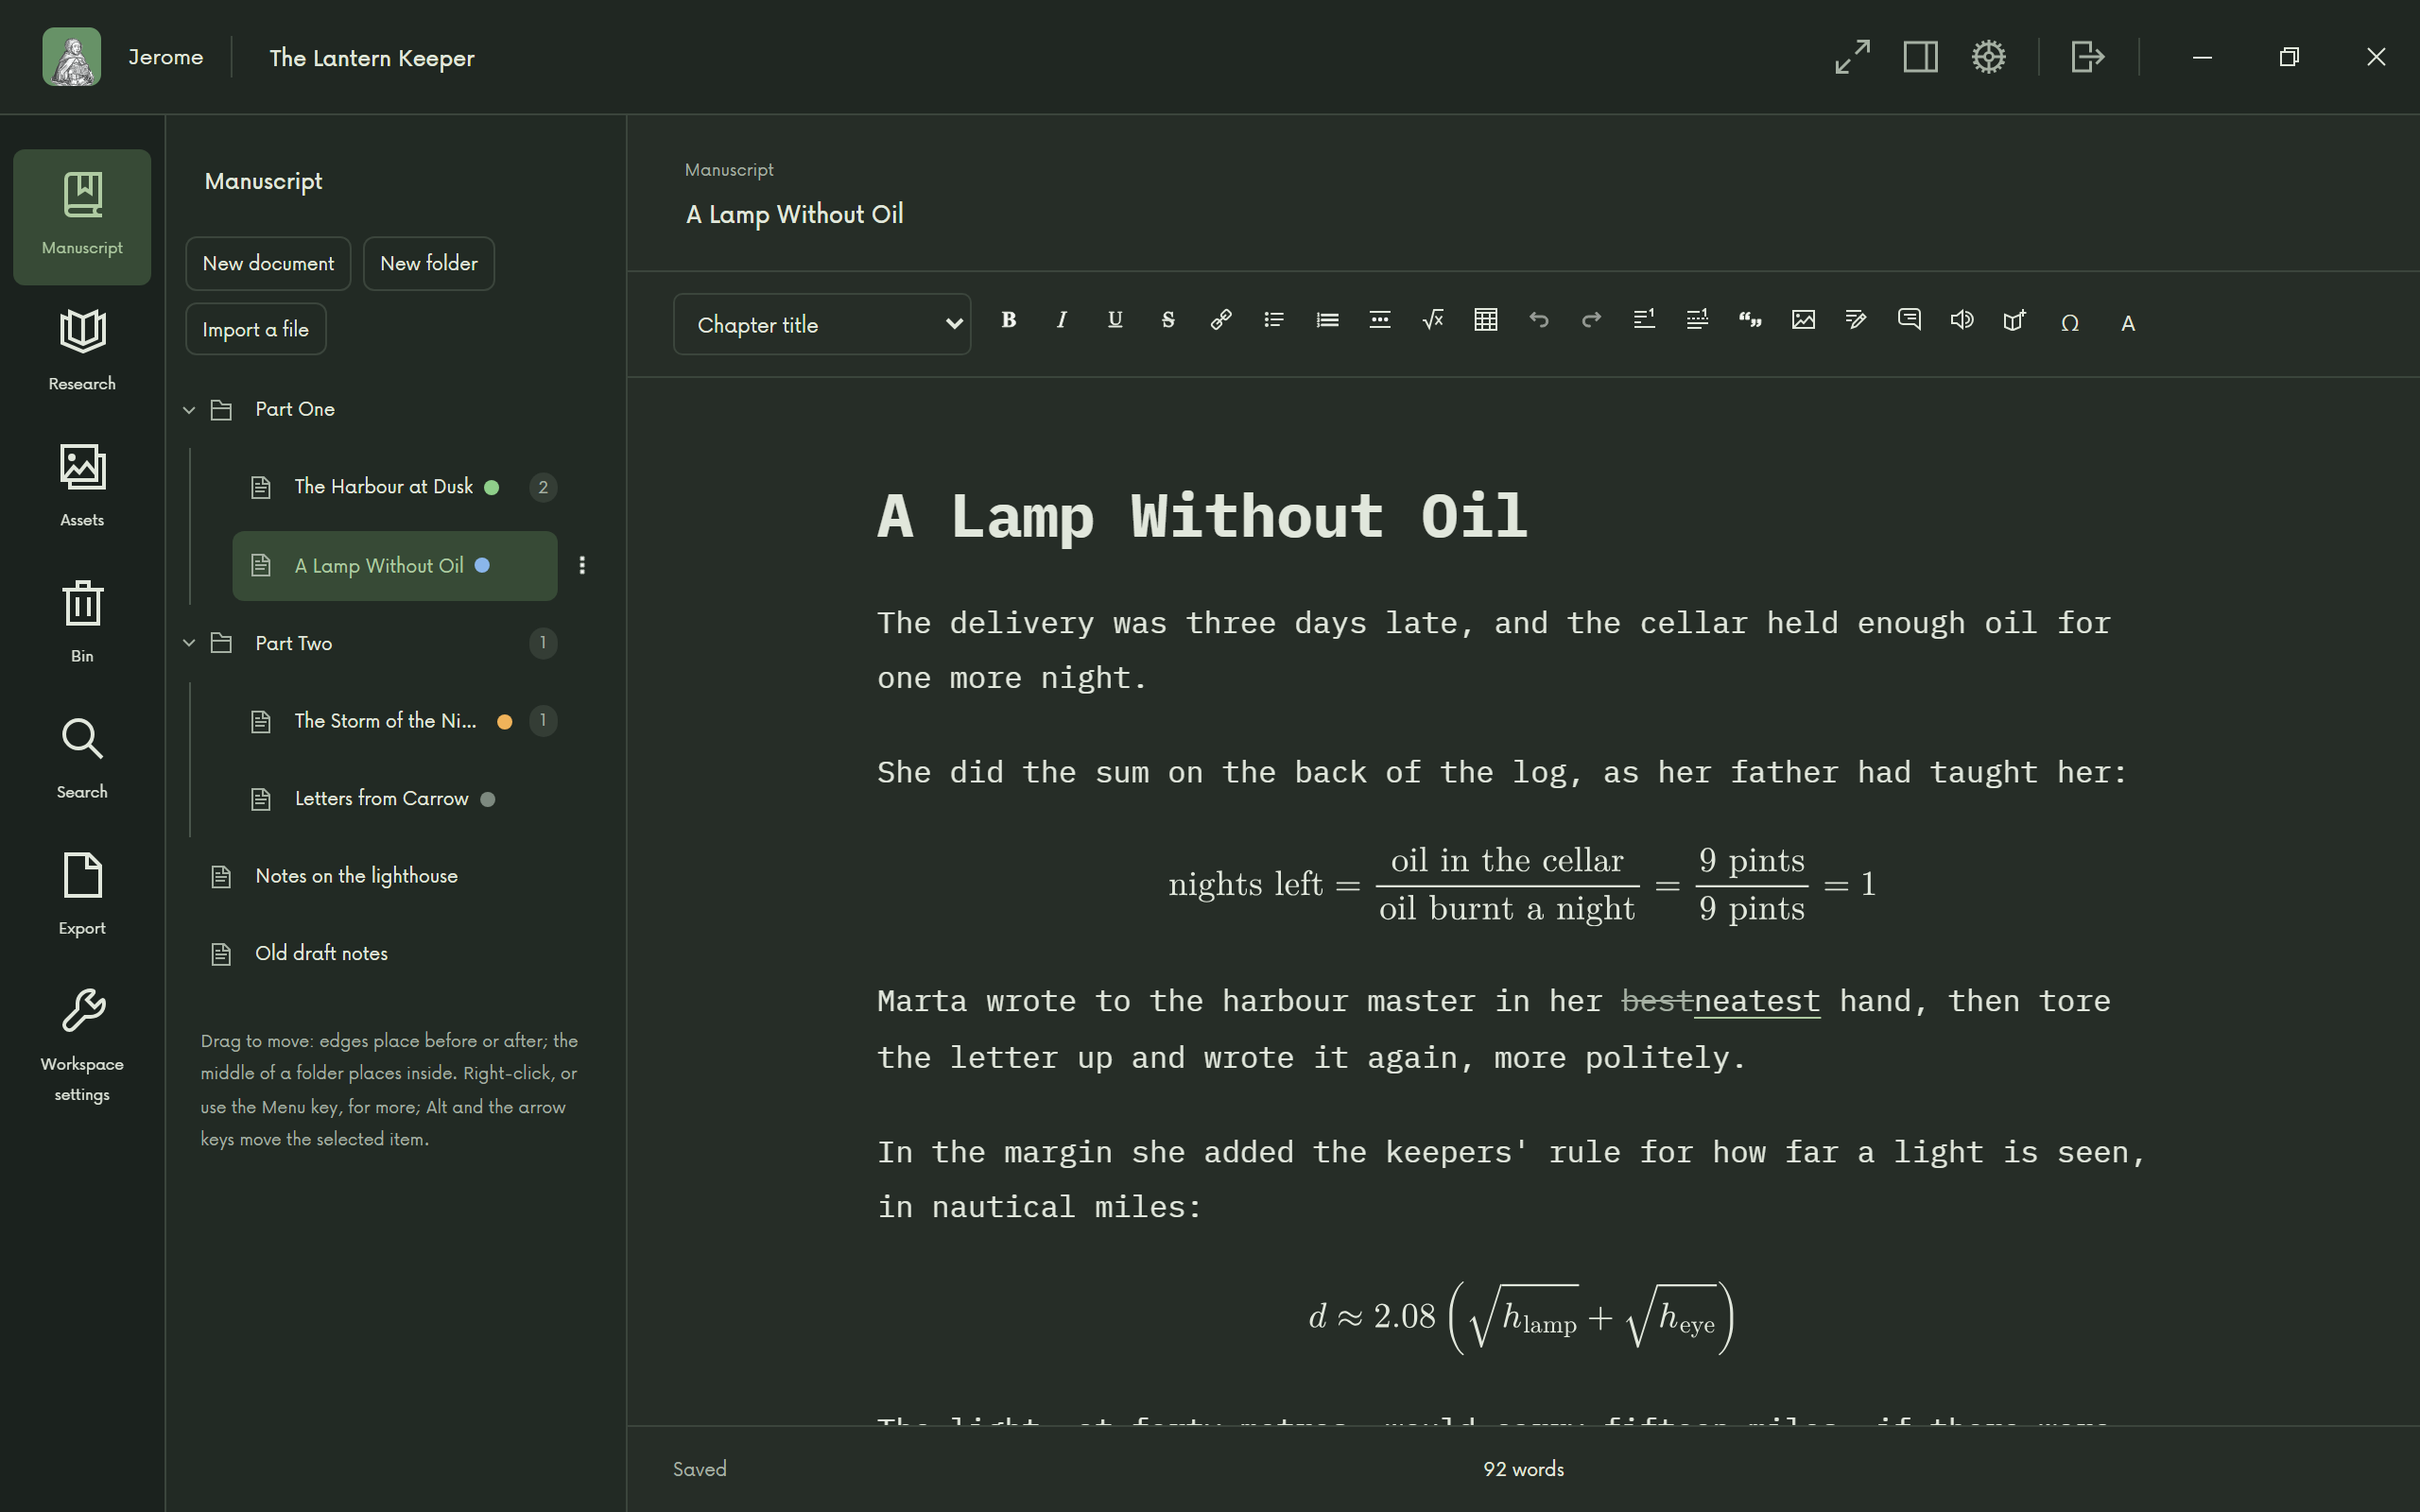
Table asks how many rows and columns you want and whether the first row is a header. Tab moves to the next cell, and Tab in the last cell adds a row. Right-click a table to add or remove rows and columns or align a column.
Formula adds a formula on a line of its own, written in LaTeX with a live preview as you type. You can also type $$ on an empty line and press Enter. Click a formula to change it.
Pictures
Image places a picture from the project, or imports a new one, on a line of its own. Give it a description for readers who cannot see it. Click the picture to change it or remove it from the text; the file stays in Assets.
Special characters
Ctrl+Shift+U (or the Ω button) opens the Special characters tab. Search by name, such as “e acute” or “em dash”, or browse favourites, recent ones and groups such as Greek, arrows, maths and ancient scripts. Enter inserts the character, and you can keep choosing more.
Word counts and targets
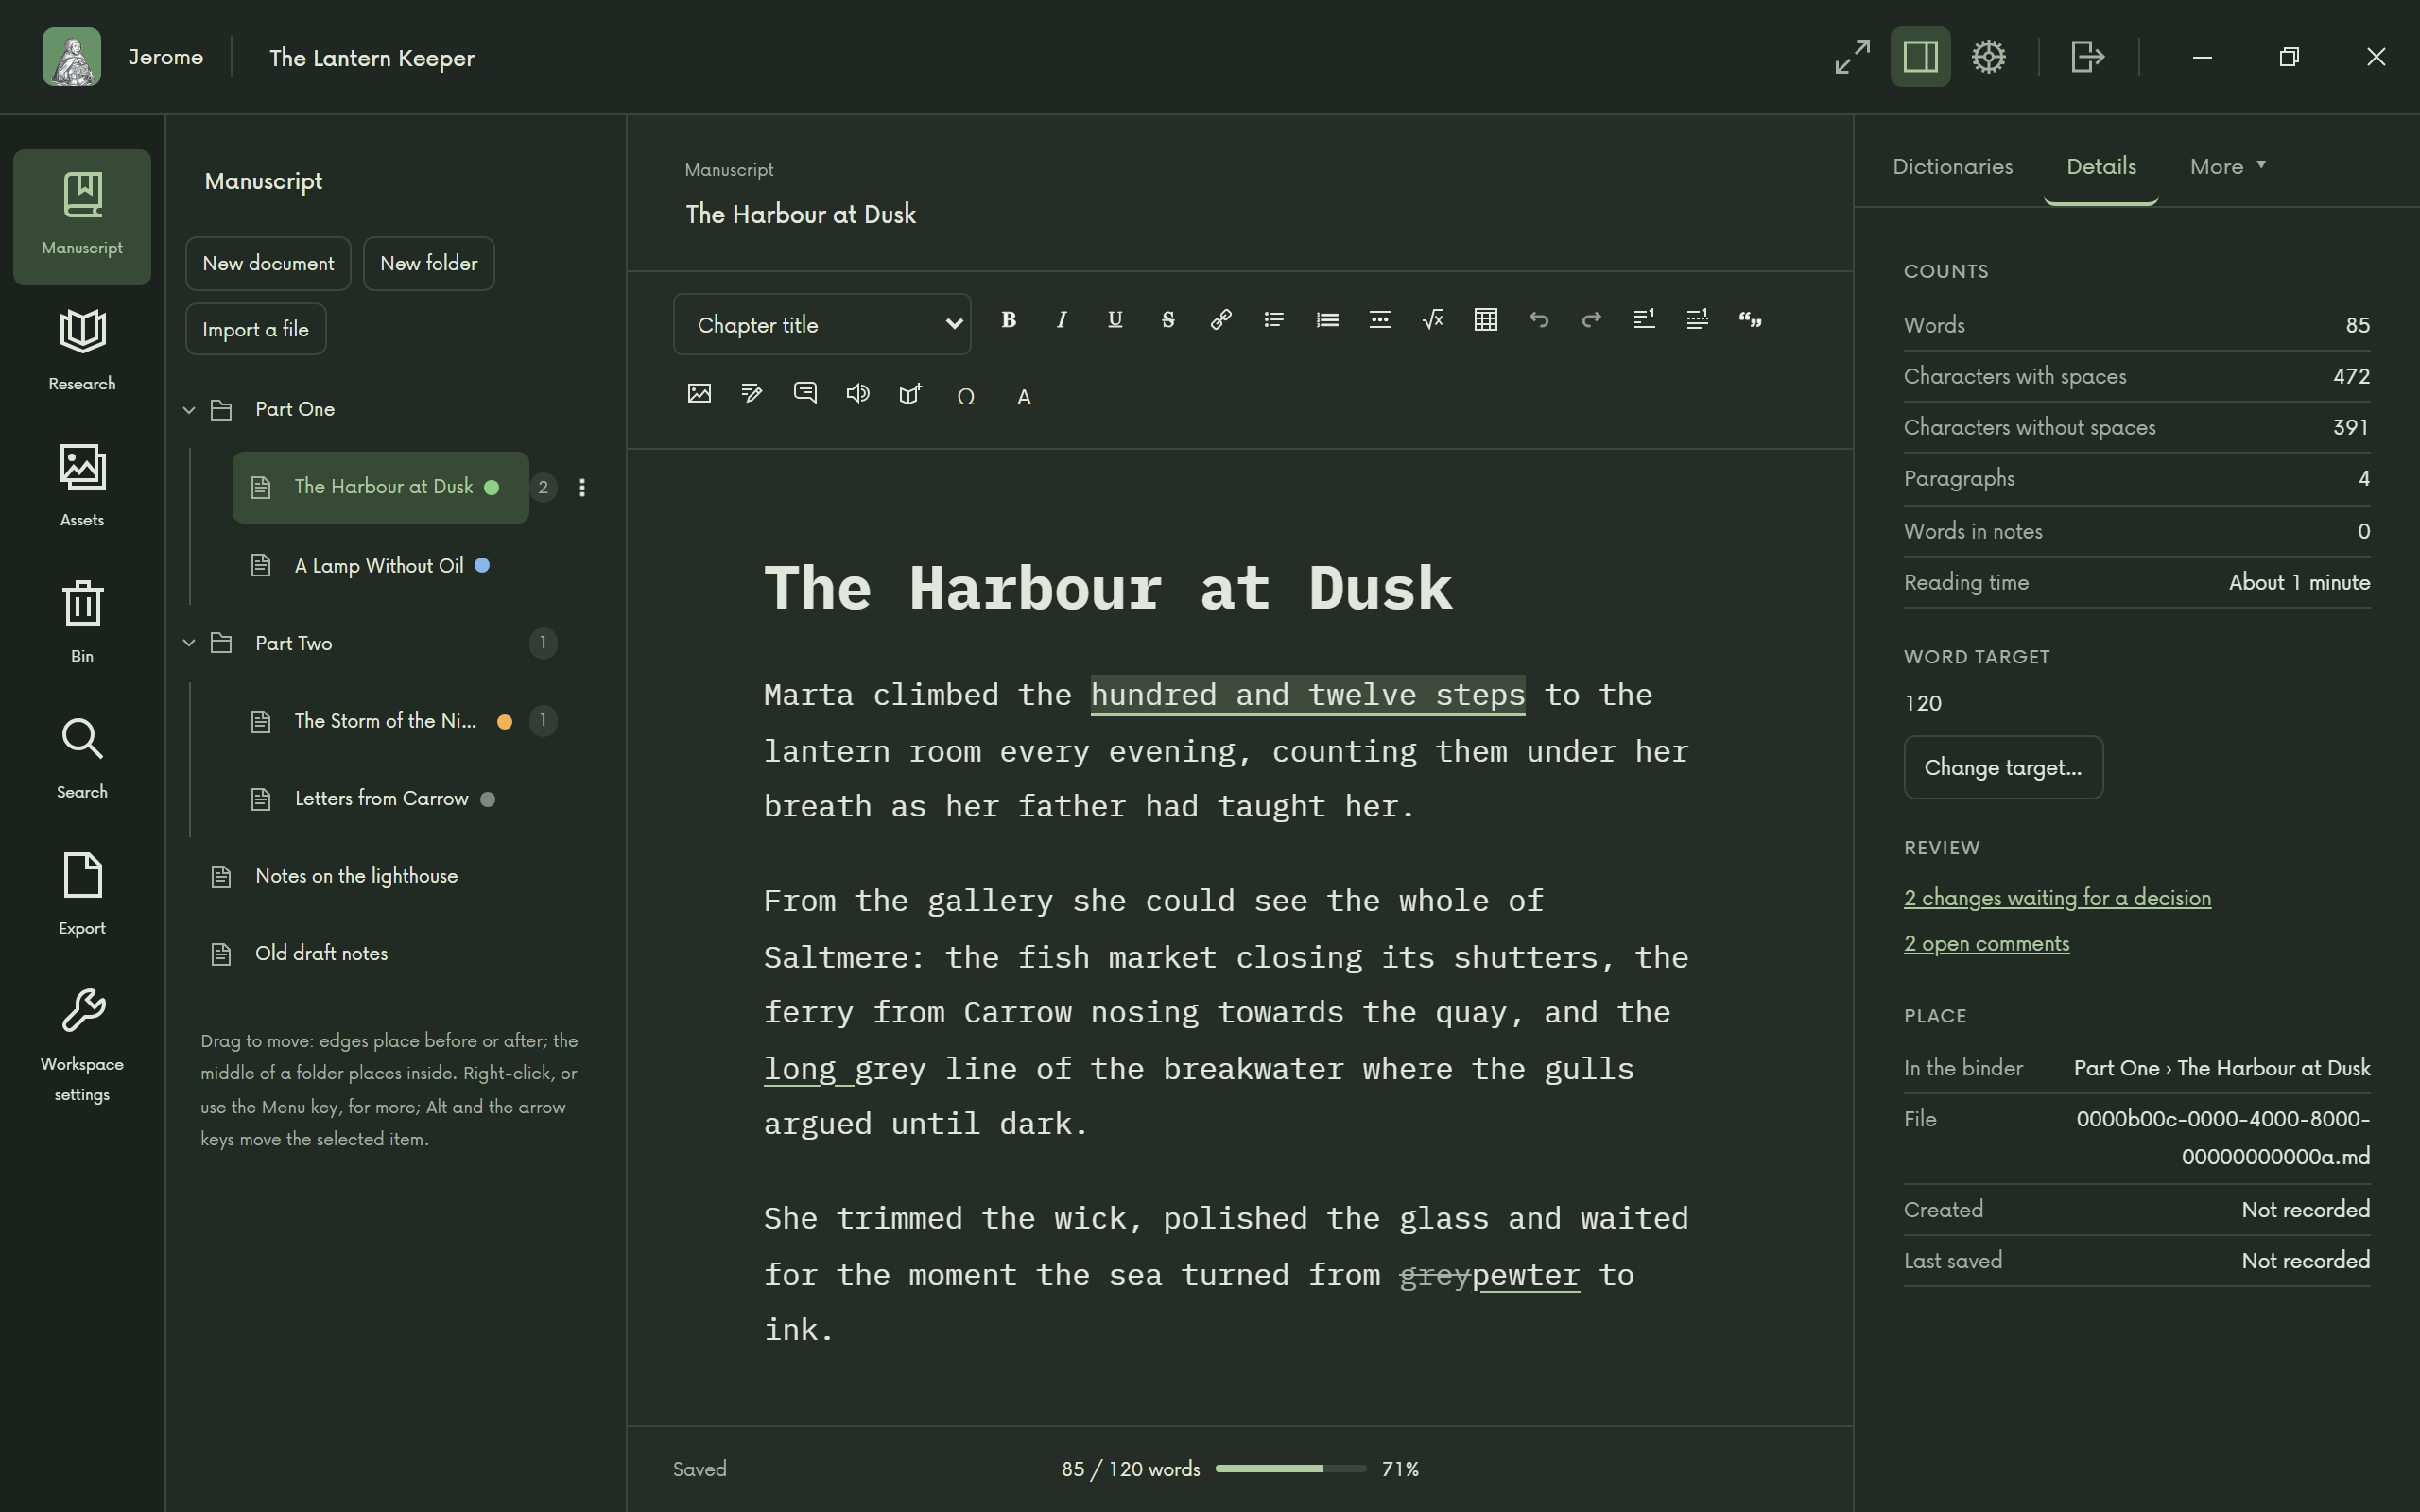
The status bar shows how many words the document has; with text selected, it shows how many of them you selected.
To aim for a length, click the count and enter the Words to aim for. The count then shows how far you are, with a thin bar, and says Target reached when you get there. A target is never a limit: nothing turns red and nothing stops you. To give every document the same target, use Workspace settings › Writing › Target for all documents.
Focus mode
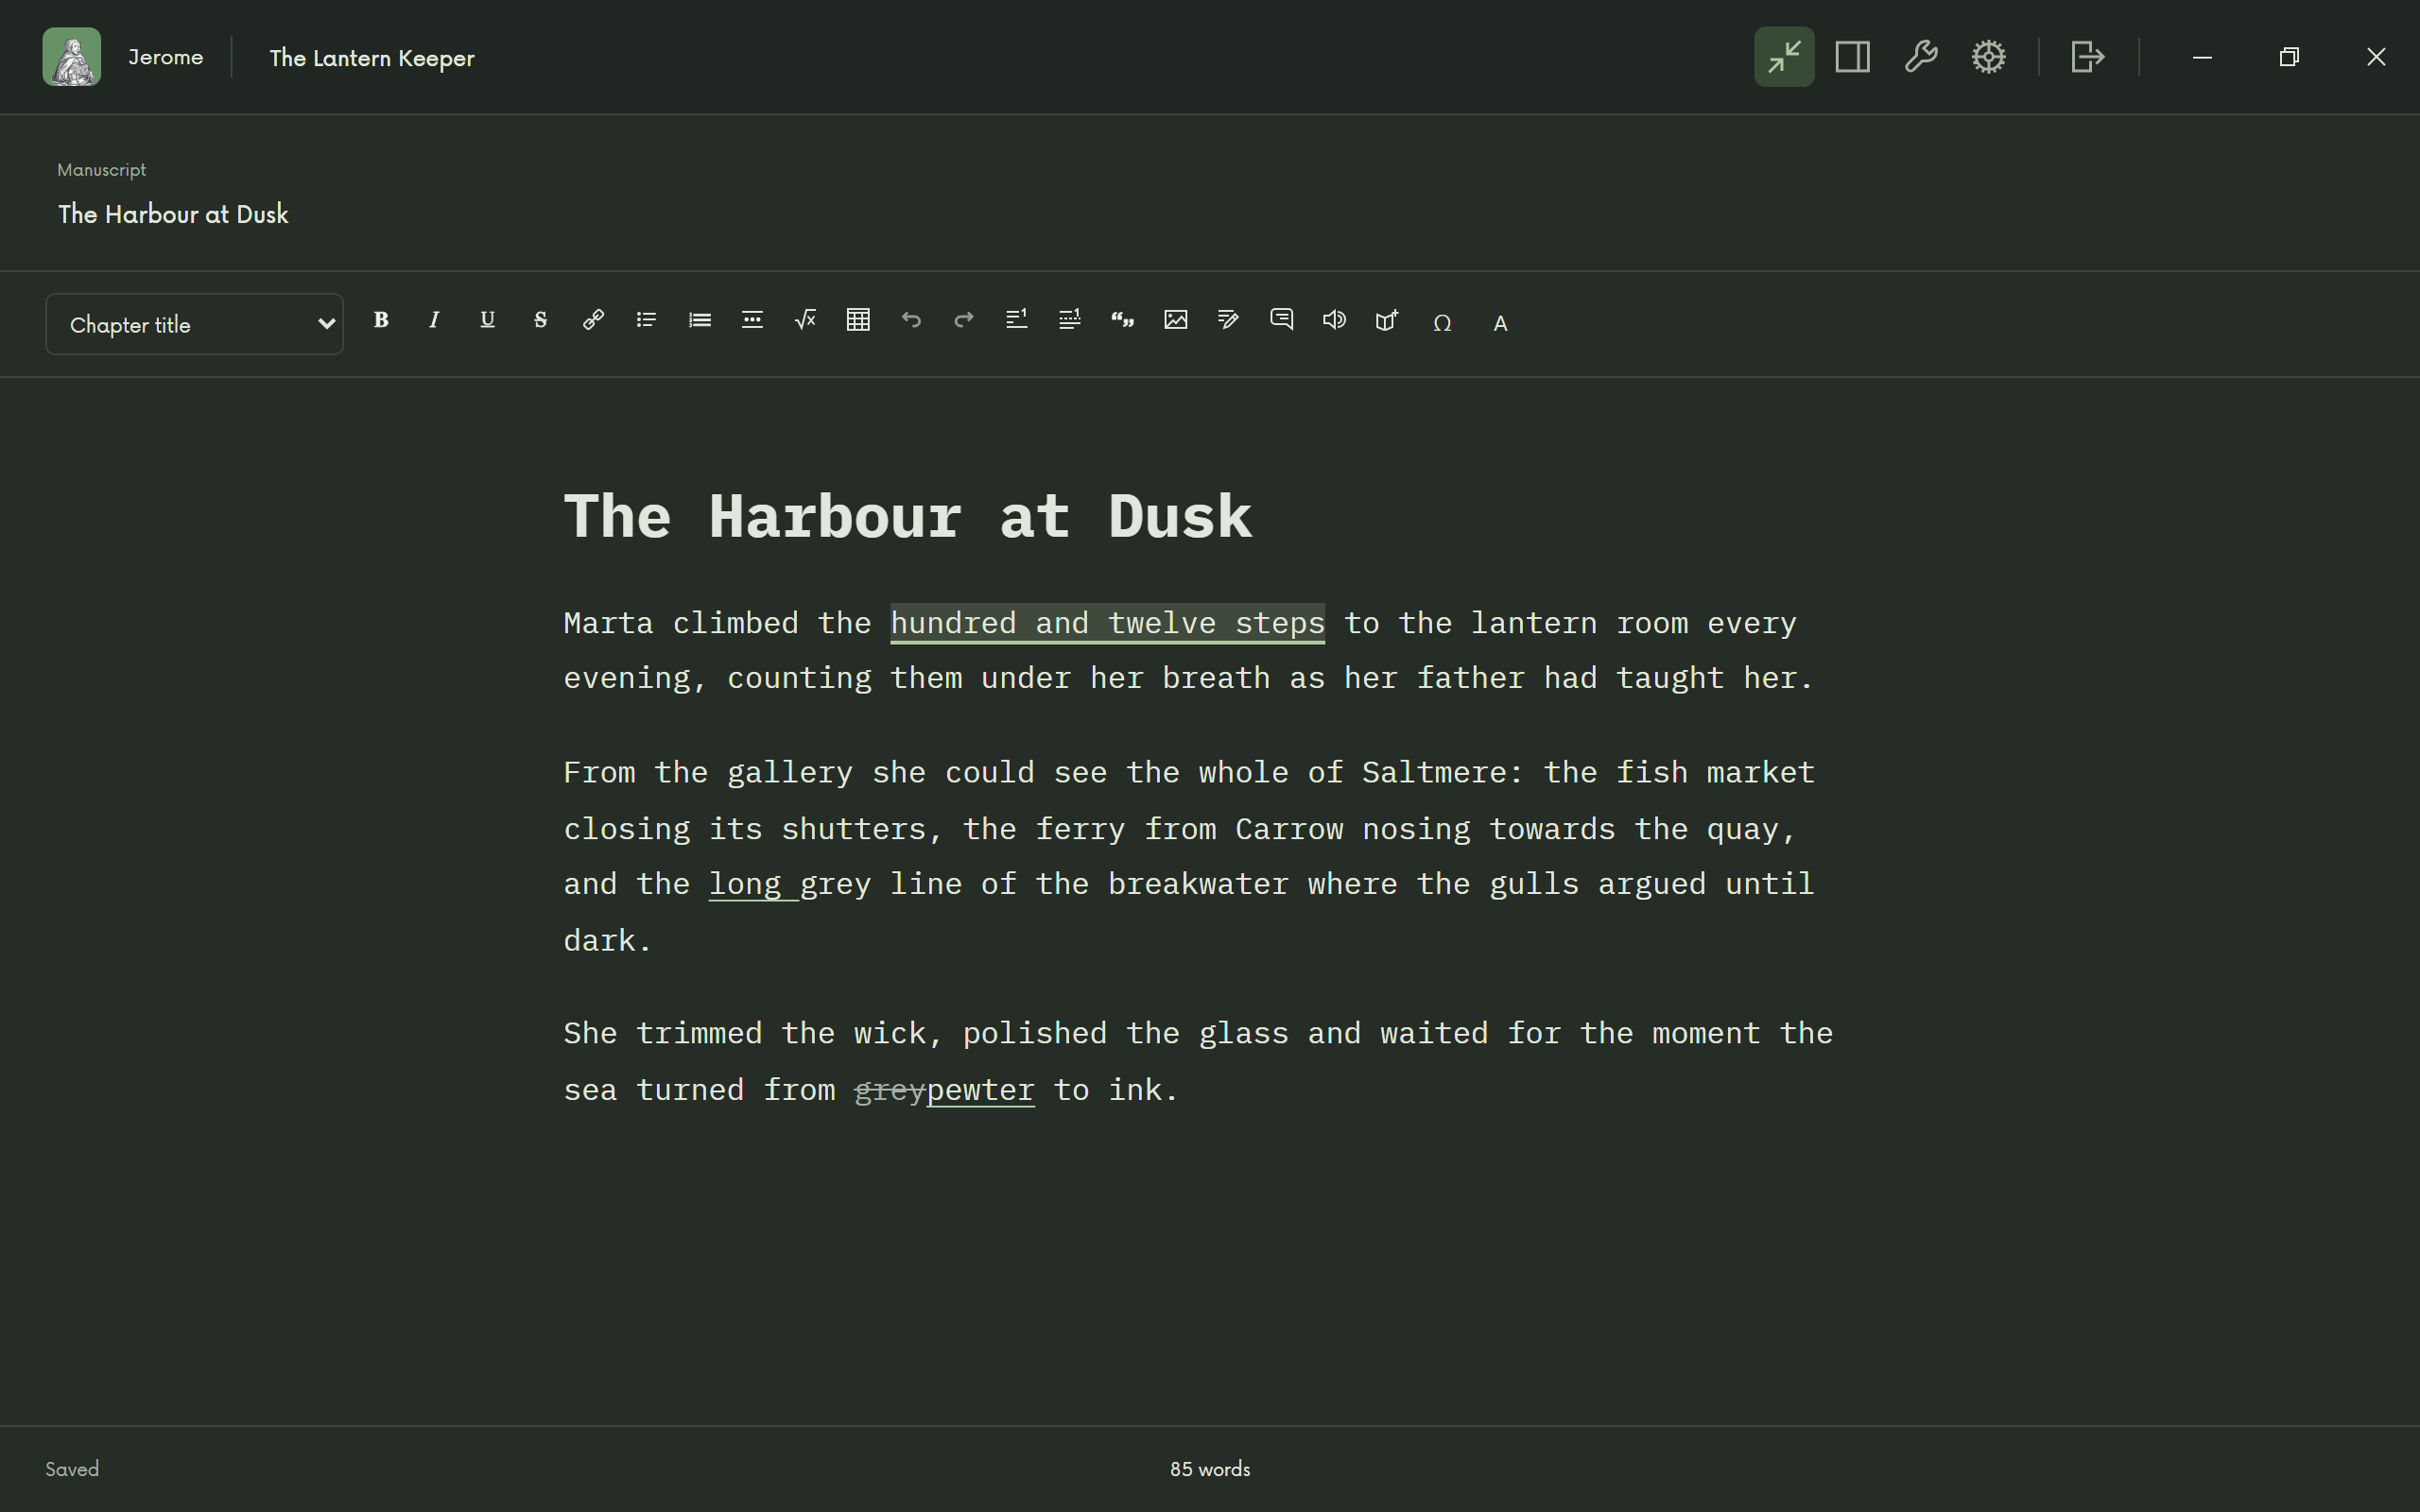
The Focus mode button in the top bar hides the rail and the binder, leaving only the page. Press Escape, or Exit focus mode, to come back.
Comments and tracked changes
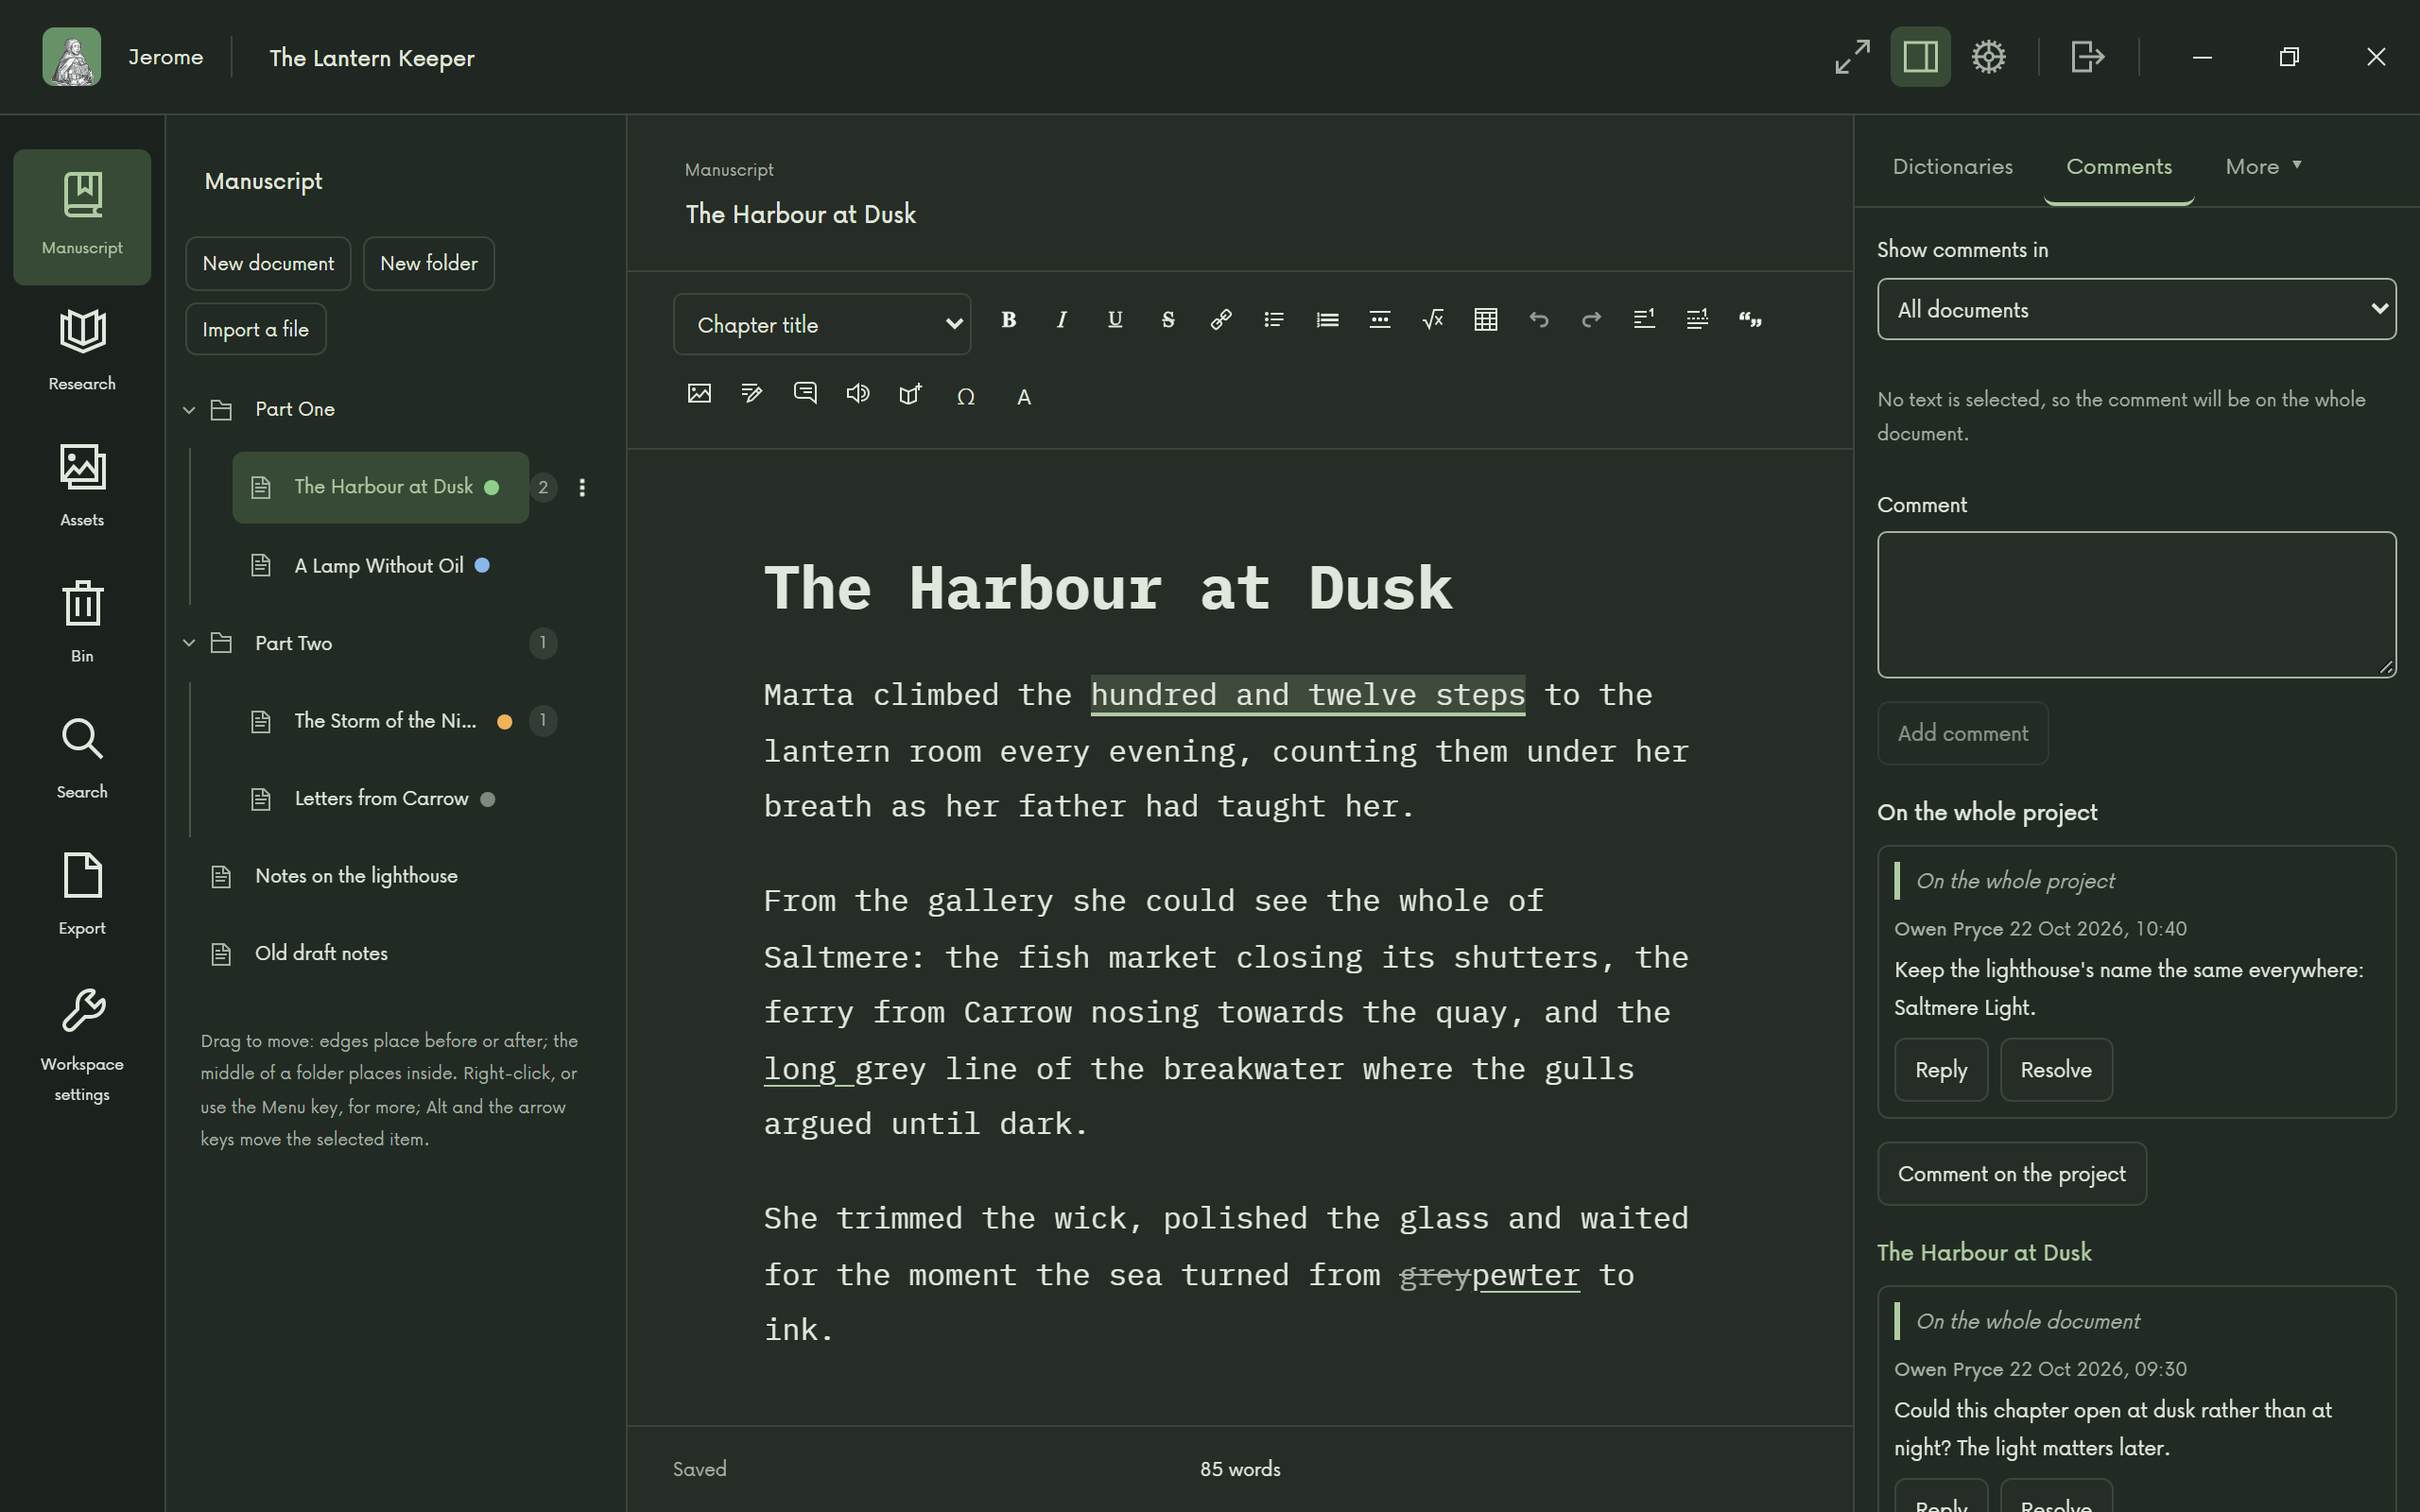
Comments: select some text and press Ctrl+Shift+M, or choose Comment in the toolbar. With nothing selected, the comment is on the whole document. Comments sit in the Comments tab of the inspector, where you can reply to them and resolve them. Folders and the whole project can have comments too.
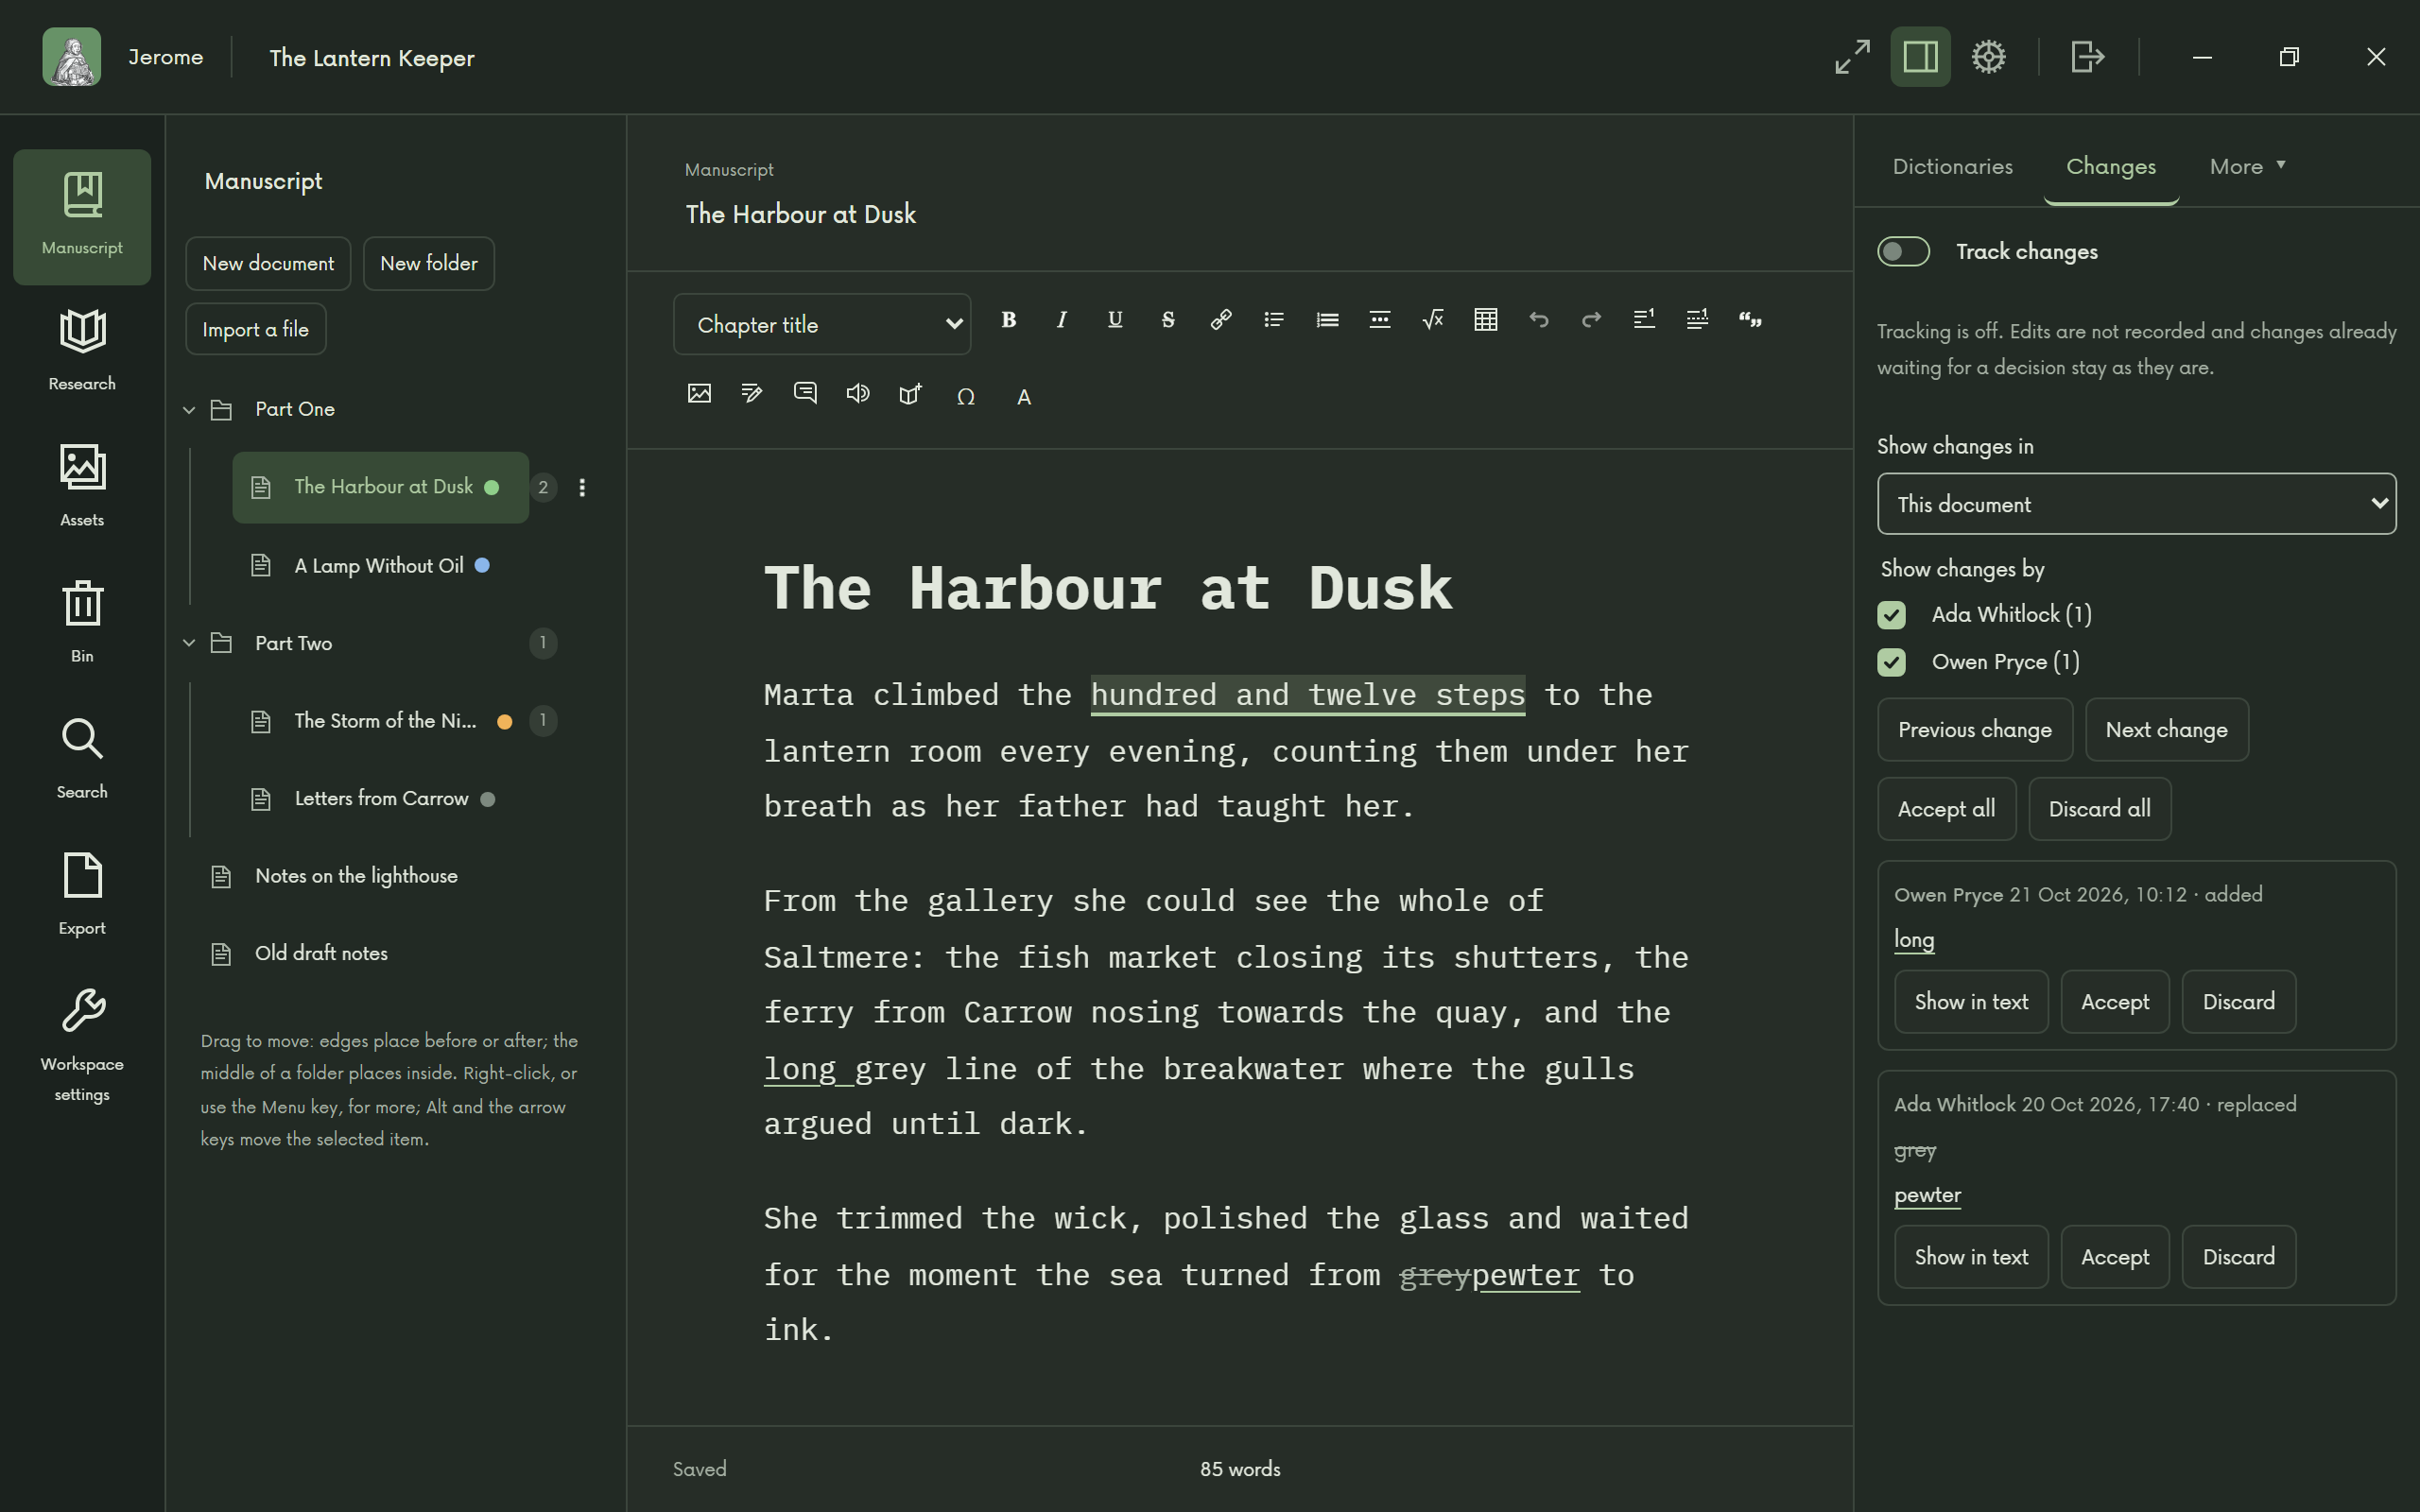
Tracked changes: switch on Track changes in the toolbar, and every insertion, deletion and change of formatting is kept as a change to accept or discard. The Changes tab lists them, with Previous change and Next change (Alt+Page Up and Alt+Page Down), Accept all and Discard all. In the text, Ctrl+Shift+A accepts the change at the caret and Ctrl+Shift+D discards it.
Names as you type
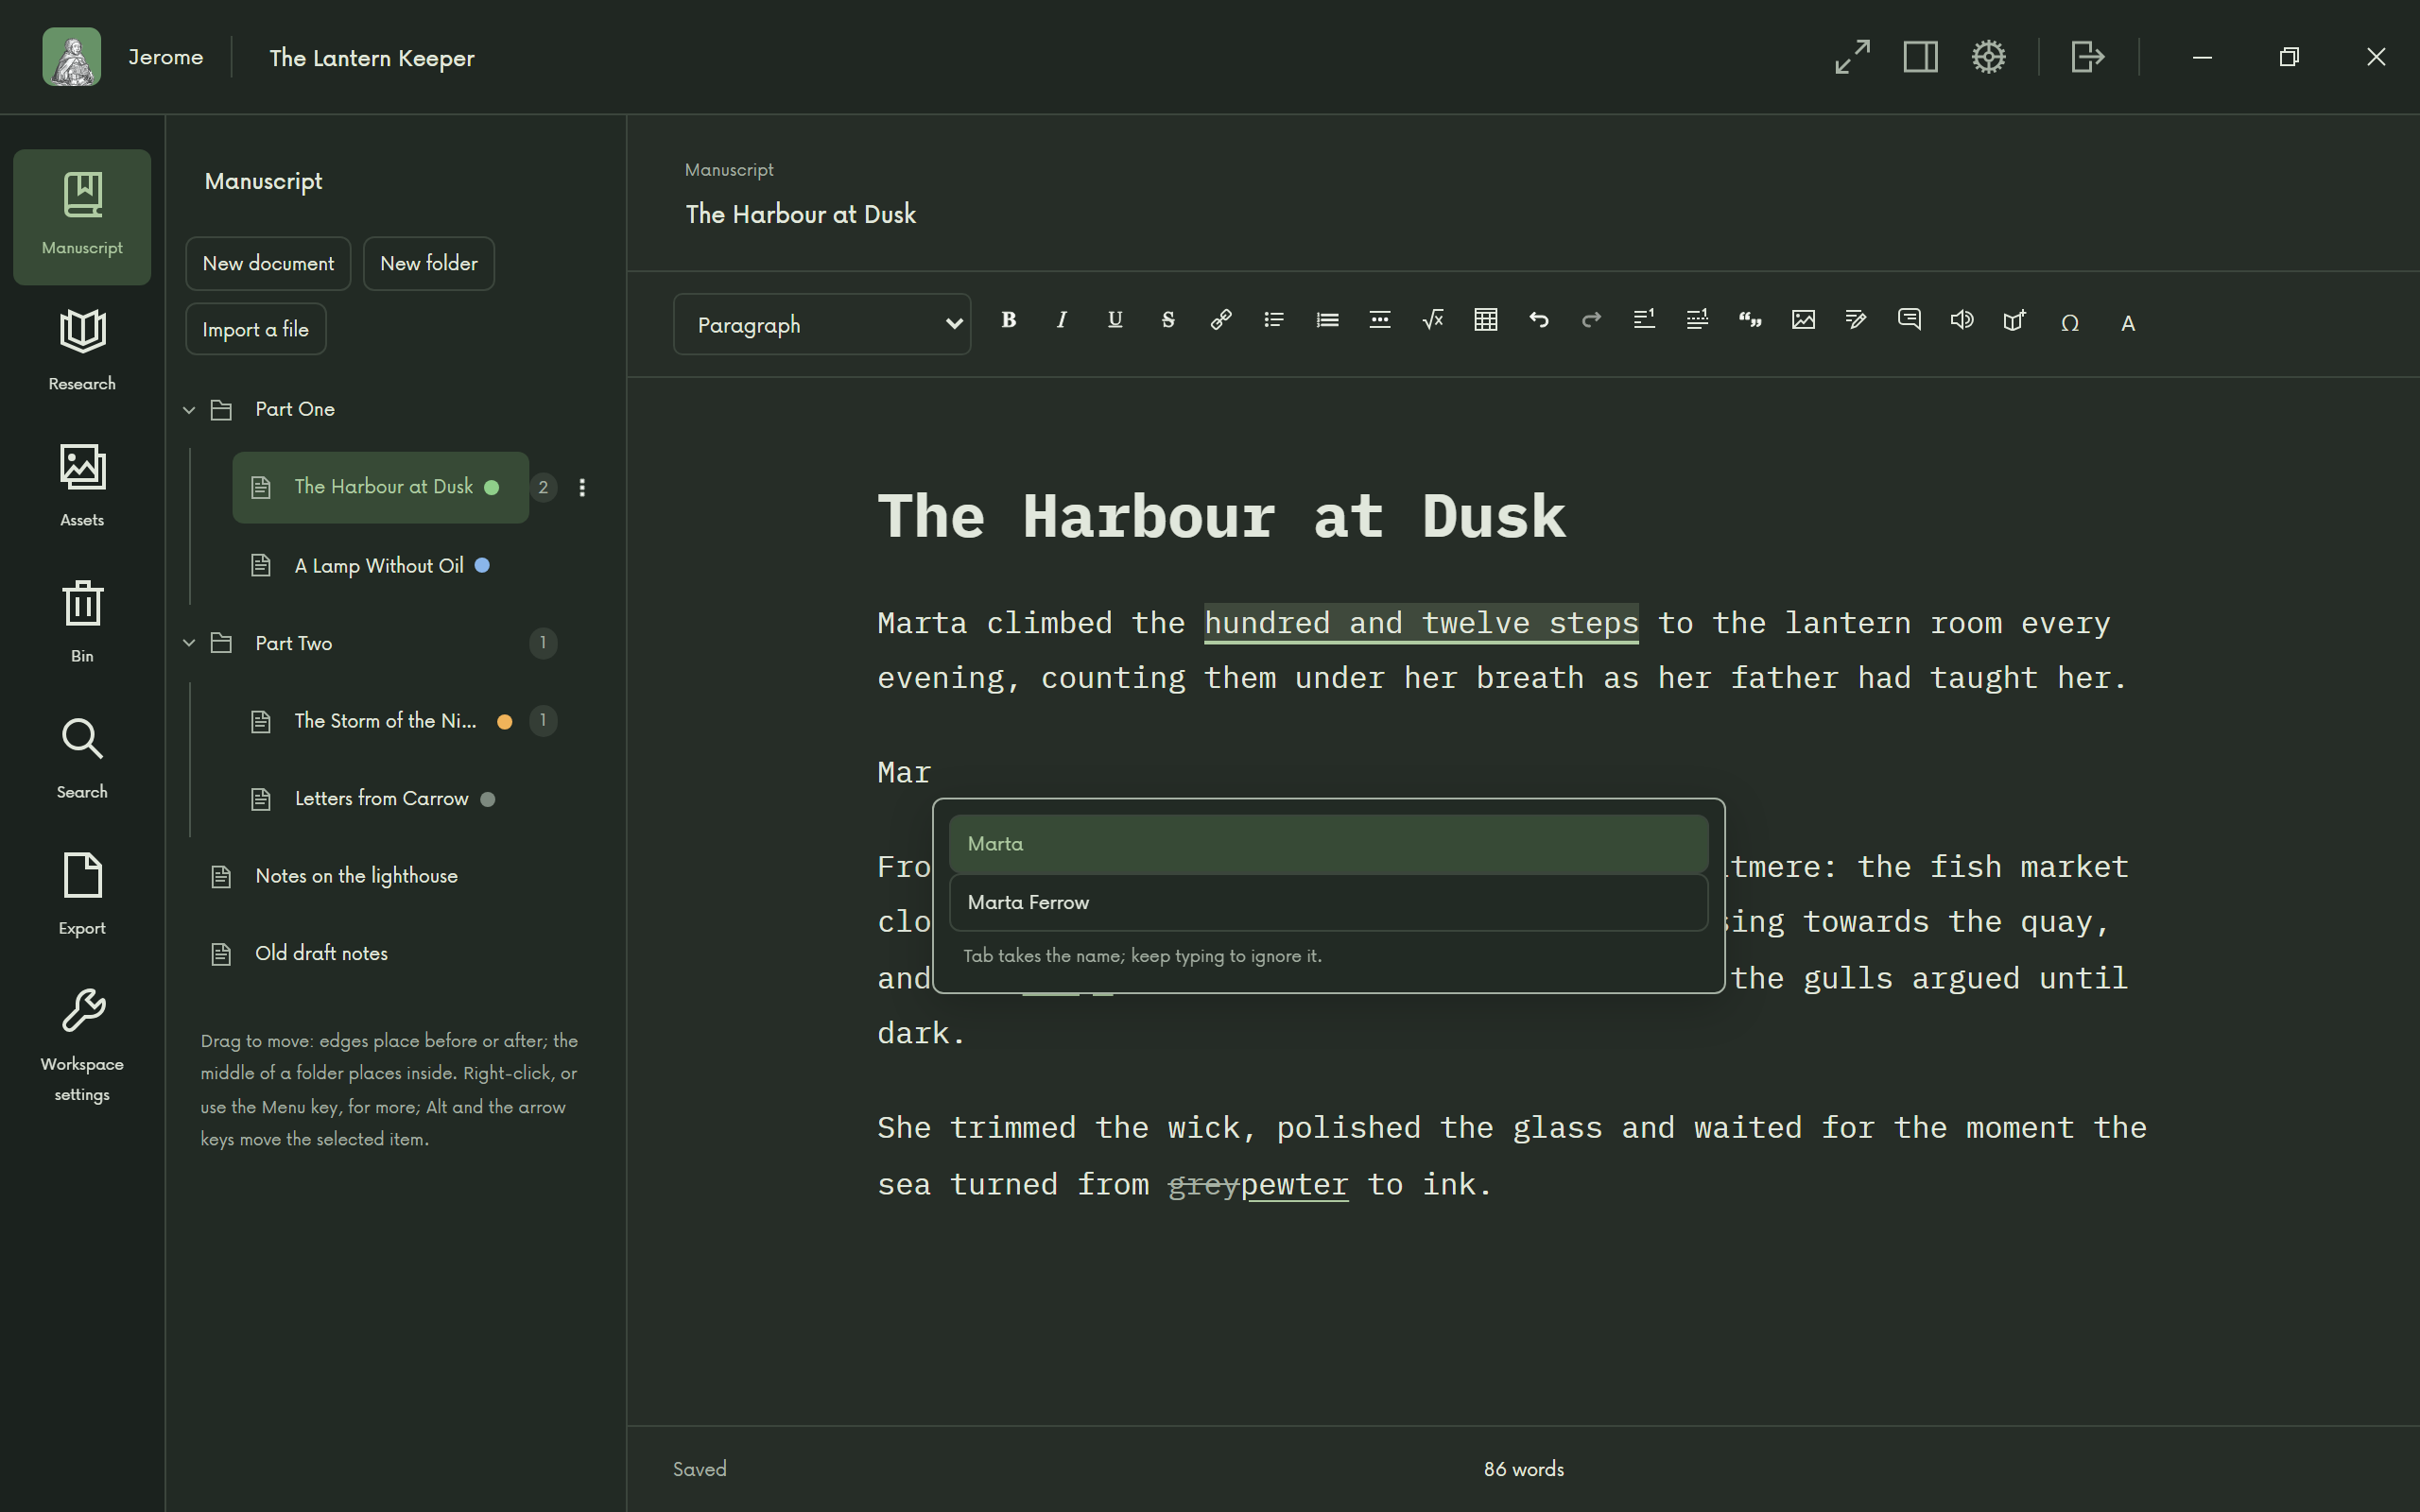
Once your characters and places are in Research, Jerome offers their names as you type. After three letters, a short list appears under the caret: press Tab to take the highlighted name, or keep typing. The spelling check knows these names too.
Find and search
Find (Ctrl+F) looks in the open document, its notes included. Find and replace is Ctrl+H. Enter or F3 goes to the next match, Shift+F3 to the previous one.
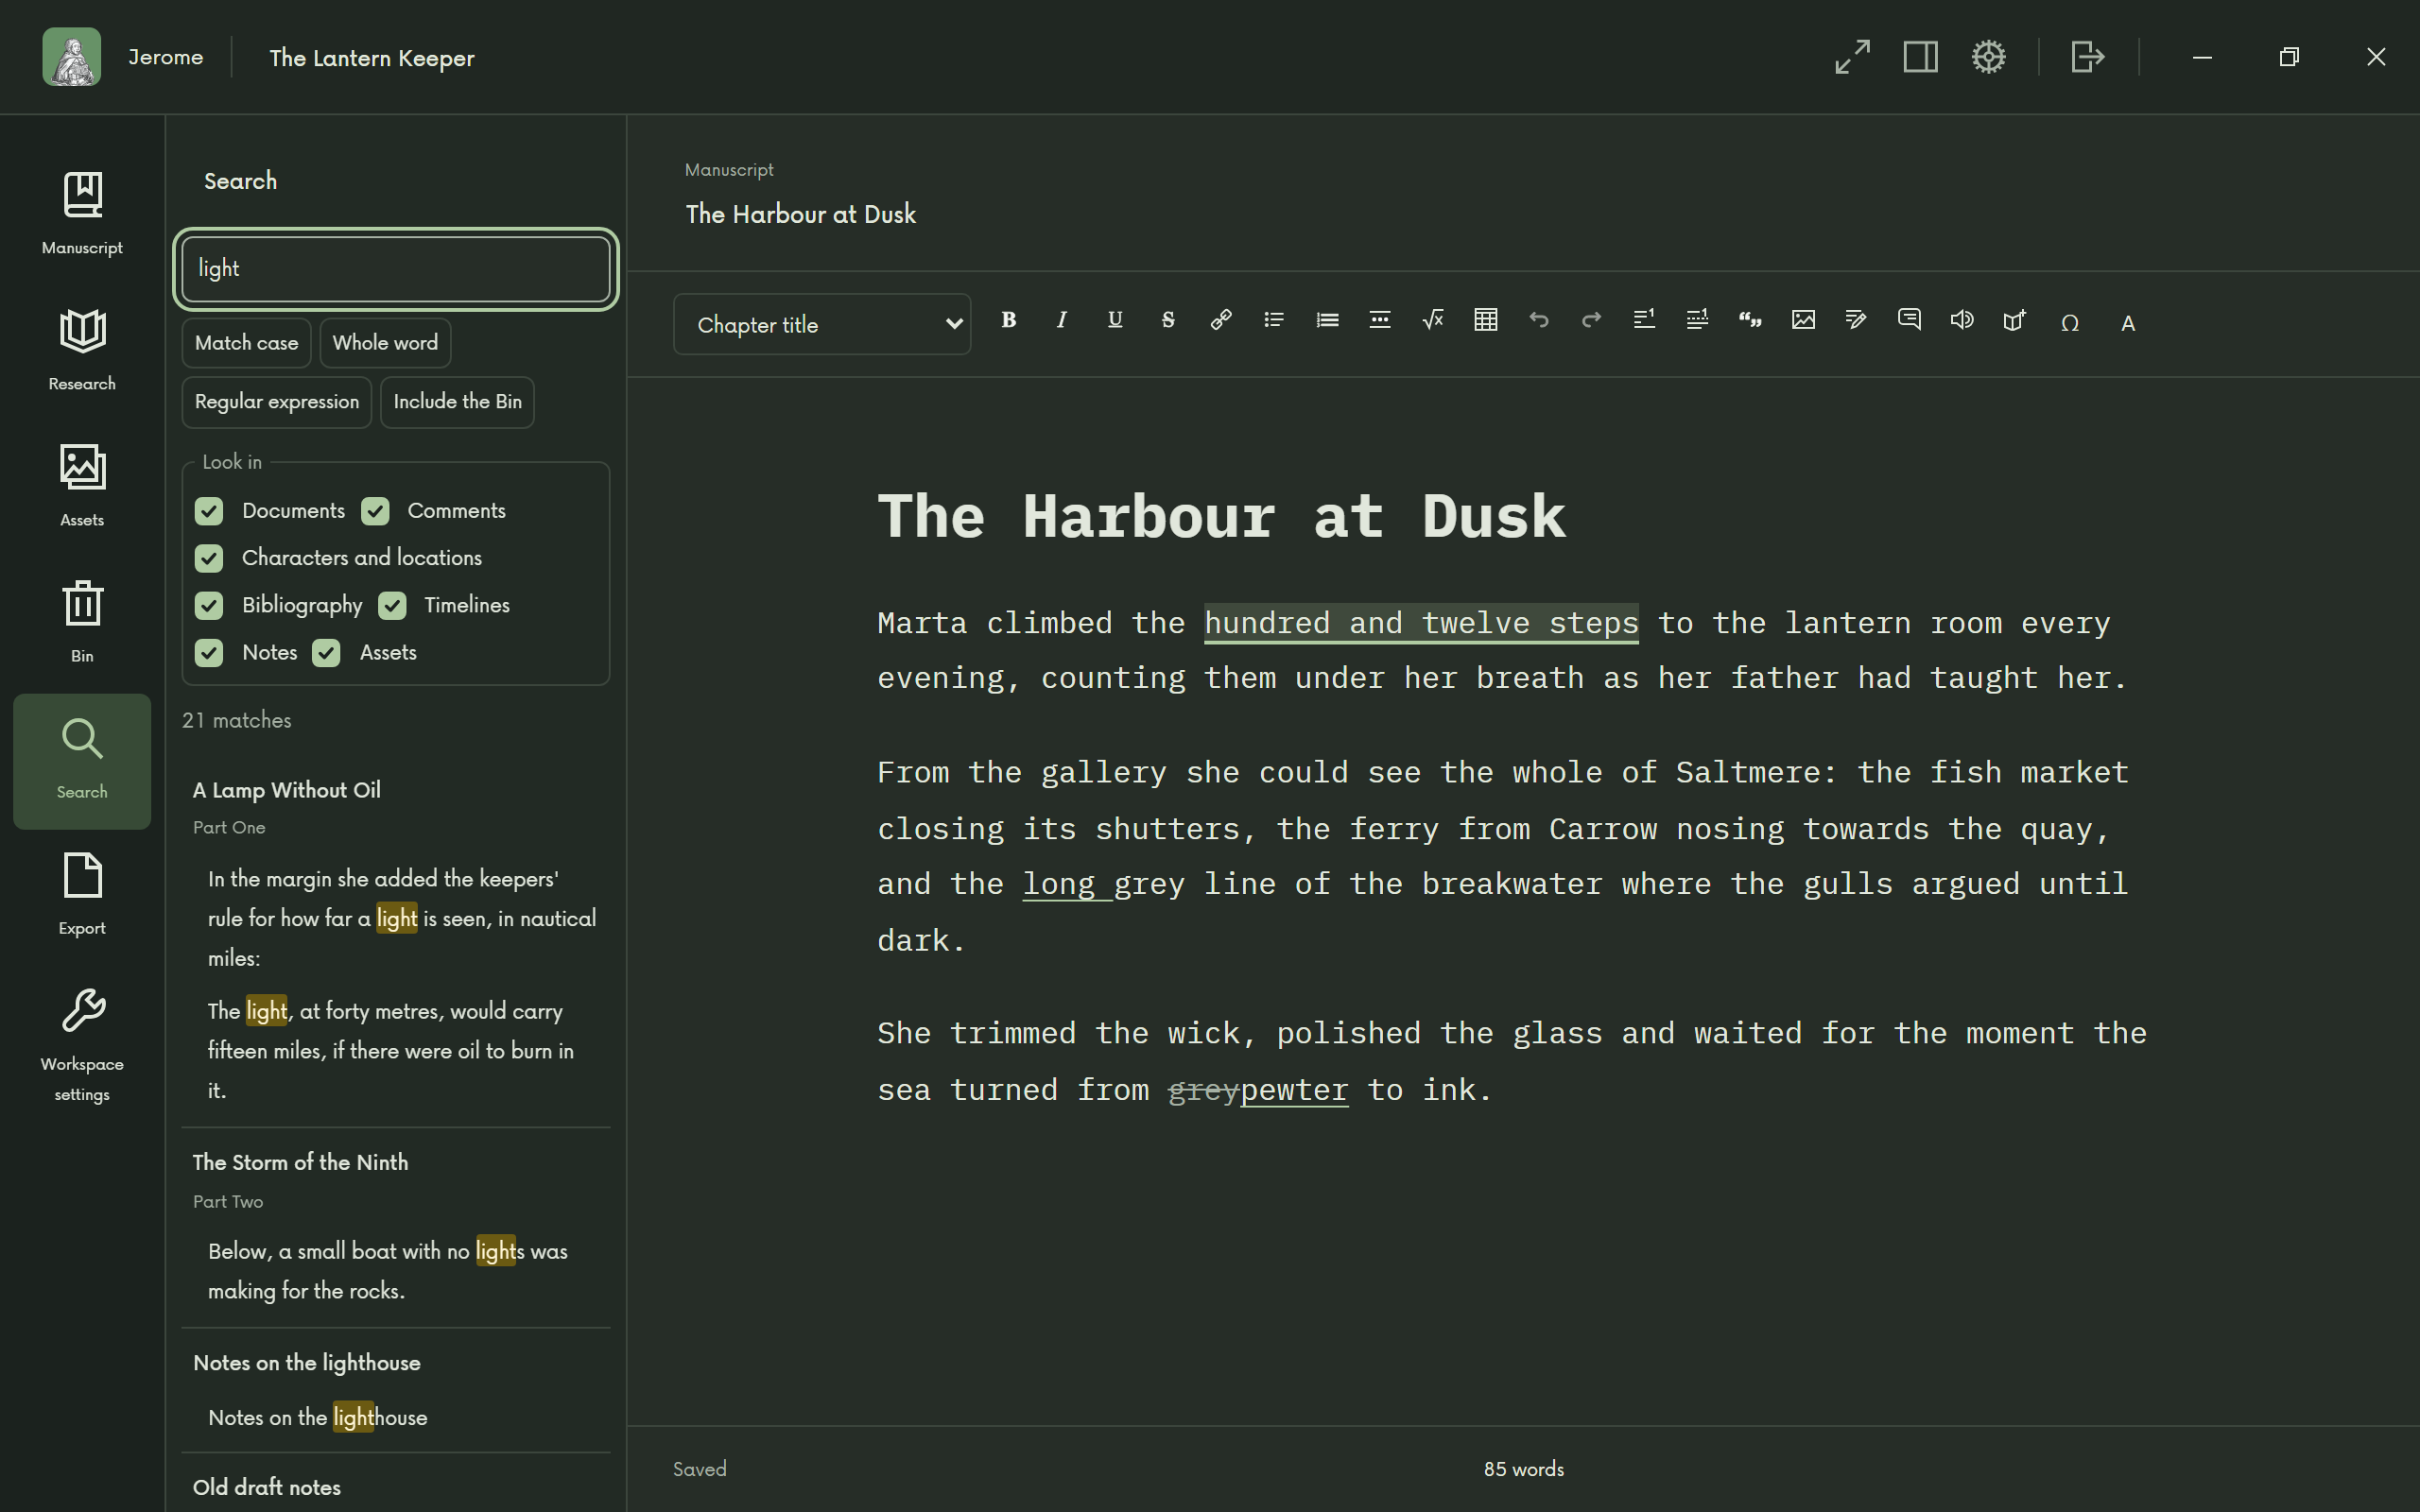
Search (Ctrl+Shift+F, or Search in the rail) looks through the whole project: documents, comments, characters and locations, the bibliography, timelines, notes and assets. Choose where to look, and whether to match case, whole words or a regular expression. Results show each match in its context; open one to go straight to it.
Look up a word
Select a word and press Ctrl+Shift+K, or right-click it and choose Look up. The Dictionaries tab shows synonyms first, for English and several other languages, then what your dictionaries say. When you looked up a word in the text, each synonym is a button that replaces it. Dictionaries come from Settings › Downloads or from folders of your own.
Read aloud
Hearing your words often shows what reading them misses. Press F9 (or Read aloud) and Jerome reads from the caret, or reads the selection. F9 pauses and resumes; Escape stops. A bar above the text sets the speed. Jerome uses the voices installed on your computer; choose one for each language in Settings › Read aloud.
Quotes, dashes and house style
As you type, Jerome turns straight quotes into the typographic quotes of your language, two hyphens into an em dash and a spaced hyphen into an en dash. Choose the style of quotes in Workspace settings › Writing, or switch it off. Ctrl+Z straight after puts back what you typed.
If a publisher has rules of its own, a house style checks them for you. Findings are underlined twice; click one, or press Alt+F7, to fix it or ignore it.
Spelling and grammar
With checking on in Workspace settings › Writing assistance, Jerome reads the text after a short pause and underlines what it finds. Click an underline, or press Alt+F7, for suggestions, Ignore here, Accept word for this project and Look up. A dot in the status bar shows whether the check has found anything. None of your text leaves your computer.